
This is the next tutorial in selenium-java sereis. In the last tutorial, we had studied about webdriver interface. In this tutorial we are going to take a look at different locators to identify elements!
What you will Learn (Ctrl+Click to follow link):
By class
By.id locator
By.name locator
By.linkText locator
By.xpath locator
Second xpath syntax
By.cssSelector locator
Second css syntax
Third css syntax
Fourth css syntax
By class:
We will now begin with identifying elements on a page. We will be working with chrome browser.Go to https://selenium.dev/selenium/docs/api/java/index.html
We have a ‘By’ class in selenium api. This class helps us to identify elements.
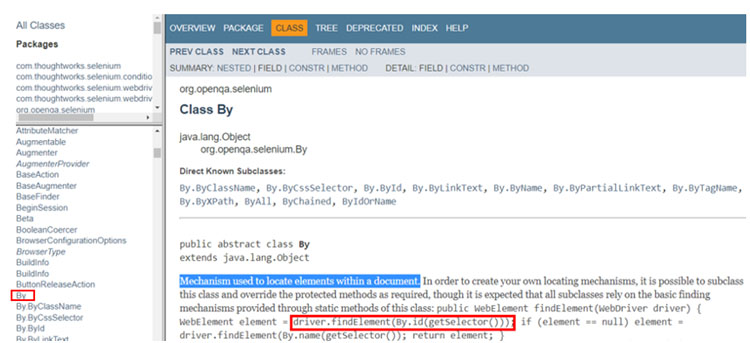
Figure 1
Open a new chrome browser & go to facebook.com, right click email field and click inspect. As can be seen, this field is represented by <input> tag & has lots of attributes like type, class, name, id etc

Figure 2
By.id locator:
The value of ‘id’ attribute as can be seen above is ‘email’. The syntax is By.<attribute_name>(“<attribute_value>”)
So, copy the value of ‘id’ attribute & use it line 14, see below. We will also use the ‘sendkeys’ method to send a dummy email id

Figure 3
Run the script, notice that the dummy email id gets entered in ‘Email’ field

Figure 4
By.name locator:
Let’s inspect password field & this time we will locate the password field using ‘name’ attribute instead of ‘id’ attribute. Notice that it is represented by <input> tag

Figure 5
Also read: Working with Various Browsers
So we can write

Figure 6
Run script. You will notice that the text ‘dummy’ gets entered in password field

Figure 7
By.linkText locator:
On the facebook page, let us inspect the link “Forgotten account?” If you see below, this is represented by anchor tag<a>& the text of the link is “Forgotten account?”
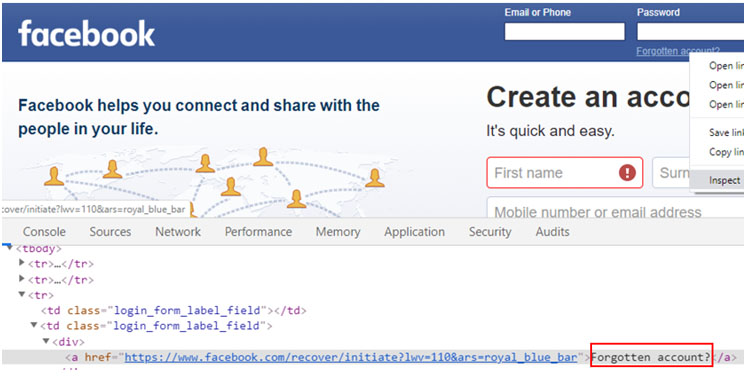
Figure 8
So we use it like below & than use the click method on the link

Figure 9
Run the script, the below page opens

Figure 10
Now comment the below line

Figure 11
By.xpath locator:
Let us now identify an element using xpath. Xpath is address of an element on a webpage.We can create our own xpaths. This helps us traversing through nodes to reach a specific desired element on a web page.
Syntax of xpath: //tagname[@attribute=’value’]
Thus for example: //input[@name=’Log In’]
What this means is that: find me an element on the webpage whose tagname is ‘input’ & whose attribute ‘name’ has the value ‘Log In’ See below. Let us inspect ‘Log In’ button. The tagname is ‘input’, attribute is ‘value’, the value of attribute is ‘Log In’
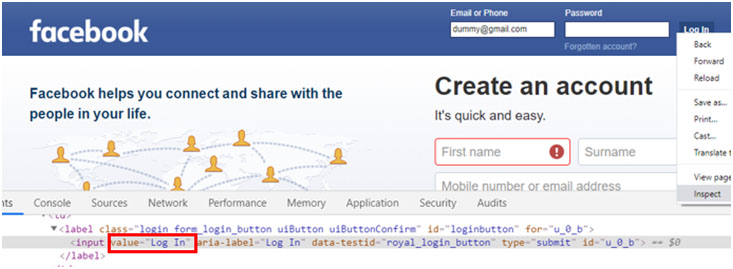
Figure 12
See line 18. We are using By.xpath and based on xpath syntax that we have seen above, our xpath would be: //input[@value=’Log In’]

Figure 13
Also read: Web Driver Interface
Run script, login button should get clicked and below page might come up
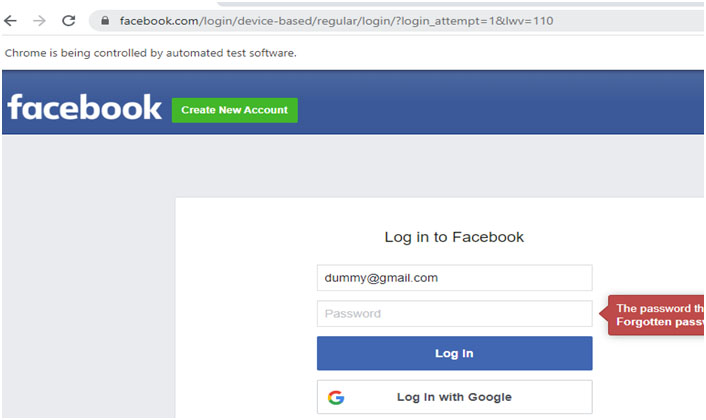
Figure 14
Second xpath syntax:
We can replace tagname with star * (star * represents any)
Thus instead of saying //tagname[@attribute=’value’],we can also say //*[@attribute=’value’]
Thus for example: //*[@value=’Log In’]
What this means is that: find me any element on the webpage having any tagname whose attribute ‘value’ has the value ‘Log In’
Comment line 18. Line 19 uses the second xpath syntax

Figure 15
Run script, login button should get clicked and below page might come up
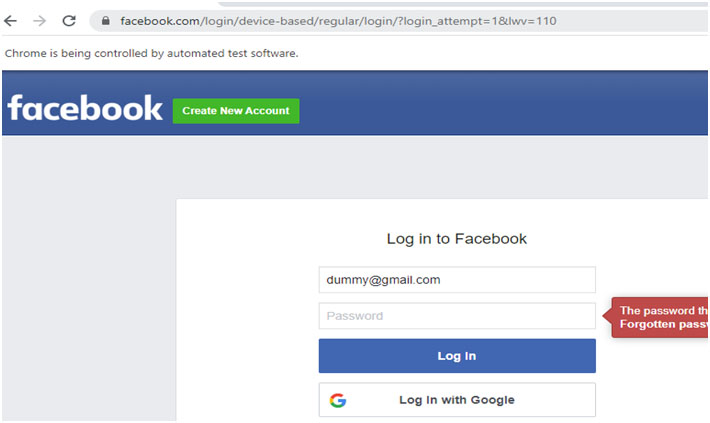
Figure 16
Note: Double quotes inside double quotes is not allowed. Now, while writing the xpath syntax, we are opening and closing the braces with double quotes viz By.xpath(“ “).
So we cannot write another set of double quotes viz By.xpath(“//input[@value=“Log In“]”) This will give syntax error. To handle this, we will convert the second set of double quotes to a single quote:
By.xpath(“//input[@value=‘Log In‘]”)
Before we proceed further, comment line 19

Figure 17
By.cssSelector locator:
Let us now identify the elements with the help of css selectors. ‘css’ stands for cascading style sheet. If you remove // and @ from the xpath syntax //tagname[@attribute=’value’], we get our first css syntax:tagname[attribute=’value’]
We are using this syntax in line#22

Figure 18
Run script, below page comes up
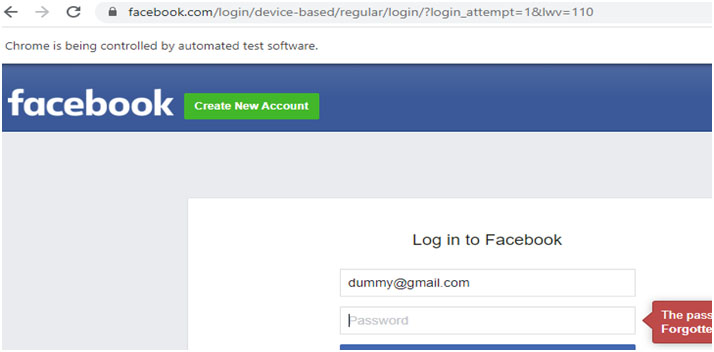
Figure 19
Comment line 22
![]()
Figure 20
Second css syntax:
This css syntax is further made simpler by removing tagname from first css syntax viz [attribute=’value’]
Let us use this in line#23, see below

Figure 21
Run script

Figure 22
Comment line 23
![]()
Figure 23
Third css syntax:
This syntax can be used only if the element has ‘id’ attribute. The syntax is tagname#id
Notice below that ‘Log In’ button has ‘id’ attribute. So we can use this syntax here

Figure 24
See line#24 below
![]()
Figure 25
Run script
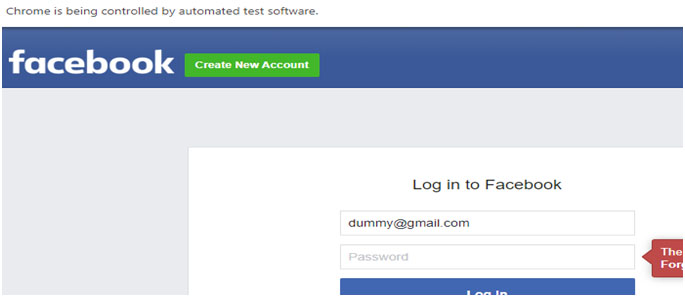
Figure 26
Comment line 24
![]()
Figure 27
Fourth css syntax:
This syntax can be used only if the element has ‘id’ attribute. The syntax is #id
![]()
Figure 28
Run script

Figure 29
Comment line 25
![]()
Figure 30
If you ever get ‘NoSuchElementException’, than it might be that the value of attribute might be dynamic in nature. What this means is that, if you see next 2 figures, the value of ‘id’ attribute is changing dynamically (u_0_4 and u_0_2 and so on). In this scenario, you should you an attribute whose value is static in nature.

Figure 31

Figure 32
Also read: Configure Selenium-Java Webdriver in Eclipse

Figure 33
We will continue with locators in our next tutorial.Thank you for reading!