
What you will Learn:
- Initialize GIT repository on local machine
- Create files inside local working directory
- Git status
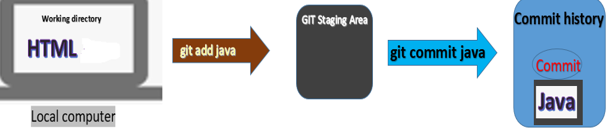
- Add files to Git staging (git add)
Initialize GIT repository on local machine
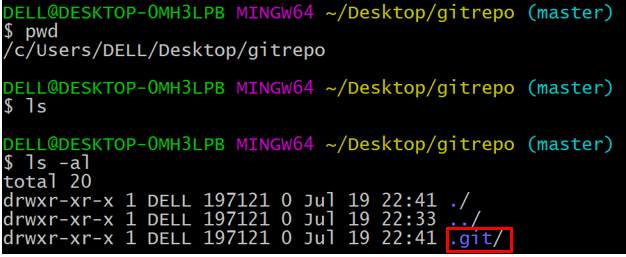
To convert our working directory into a GIT repository, we have to initialize our working directory (viz gitrepo). We use ‘git init .’ command to do that

The output of above command shows that our local Git repository has been initialized.
Also notice (master) written right after ~/Desktop/gitrepo (master). The (master) tells us that we are inside the Git repository.
Remember that right now we are inside our local working dir and it is empty

So, we can now execute git commands in our local machine working directory (git add, commit etc…)
Please note: You don’t require ‘git init’ command if you want to work on an existing Github project. This command is only for new projects.
Next, see below. When we execute the ‘ls’ command, we don’t see any output. However when we execute ‘ls -al’, we do see the hidden .git directory that was created due to git initialization
Let us remove the .git folder by executing ‘rm -rf’ command. Notice that, after removing the .git folder, we no longer see (master). This means that we are no longer inside the Git repository

The below command does not show the .git folder anymore

Let us now try to run a git command. You will see a fatal error that says ‘Not a git repository’

Let us again execute ‘git init .’ command. The dot means current directory. Notice that we again see (master) and hence we are again inside a Git repository

Let us execute ‘git add’ command. See the output message now. We don’t get fatal error. Instead it says that nothing has been added. This is true because we did not mention any file or directory after ‘add’

This is how we initialize a Git repository.
Create files inside local working directory
Right now, our local gitrepo/ folder is empty

Let us create few files inside the gitrepo/ working directory. We will use the ‘touch’ command to create new files, see below
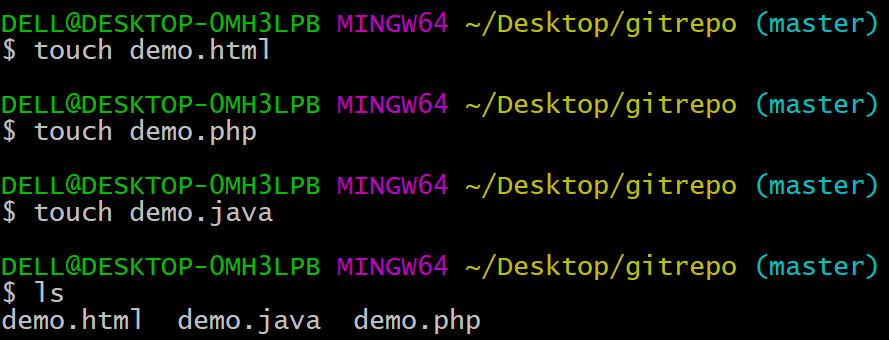
So we now have 3 files inside our local working directory

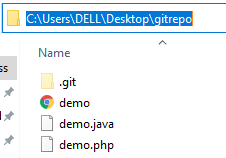
You can double check these files manually as well. Go to the above location C:\Users\DELL\Desktop\gitrepo and click ‘View’ from the top menu & select checkbox ‘Hidden items’

You would see the .git folder plus files you have created
Git status
Let us execute ‘git status’ command. This command gives us the status of changes that we made in our working directory and staging area. You can see below that we have 3 untracked files and also a message that says ‘nothing added to commit……..’
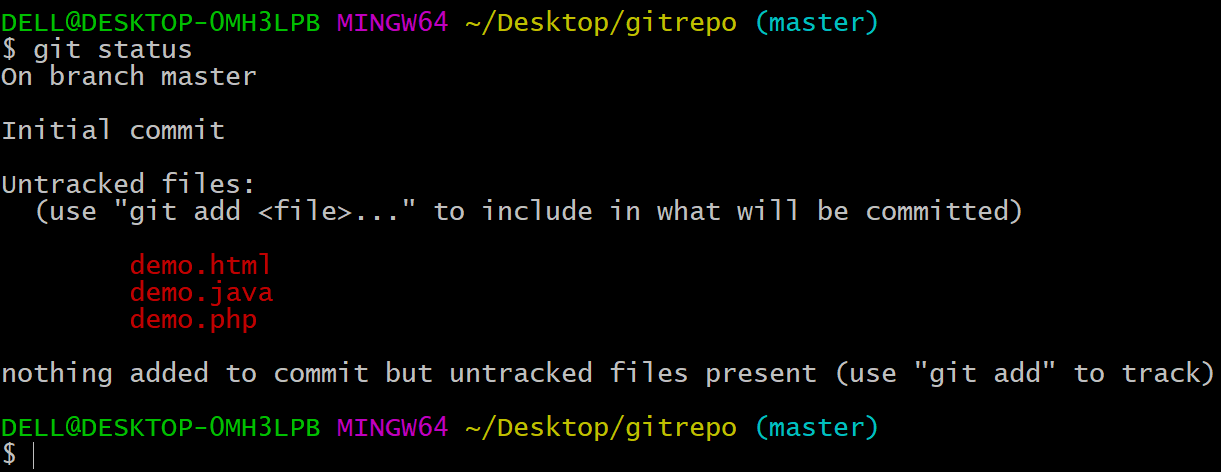
The message also says to use ‘git add’ to add the files to staging area.
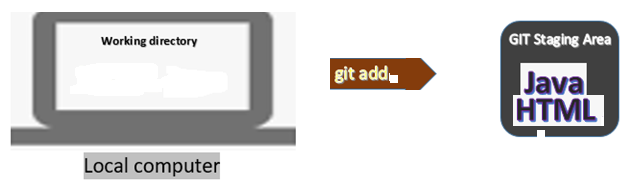
Add files to Git staging (git add)
Let us now add a file to Git staging area
Also Read: Tutorial 3: Create Git Repository

Let us again execute the status command. Notice below that we now have 1 new file in the staging area and 2 untracked files

The output that you see above mentions the command to unstage the file. So if you want to remove demo.html from the staging area, you can simply execute below command

Now if you run the status command, you will get the below expected output

Let us now add all the files to staging area. We can use git add . command to do that.
Note 1: ‘git add’ adds from the current directory downwards
Note 2: dot means add all files from the current directory
We will understand about ‘Note 1’ a little later.

Let us execute status command. The current directory had 3 files and all of them have been added
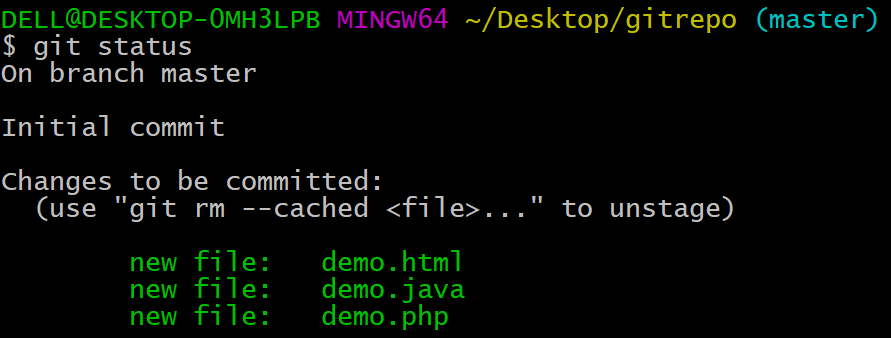
So we have moved all the files to staging area
Let us once again remove all the files from the staging area (in the below command, -r is for recursive removal)

Let us now create a testdir and cd to it. We than create a test.html inside this testdir
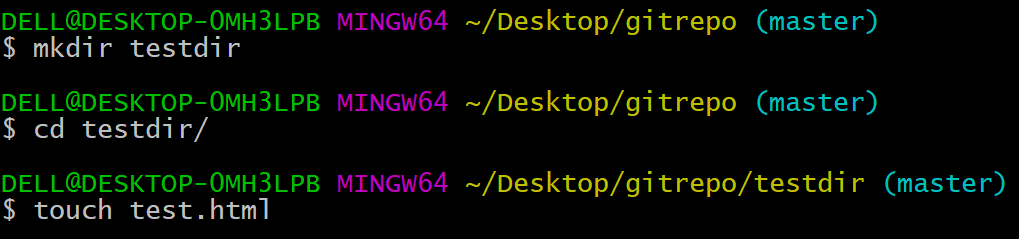
So you can see the test.html file

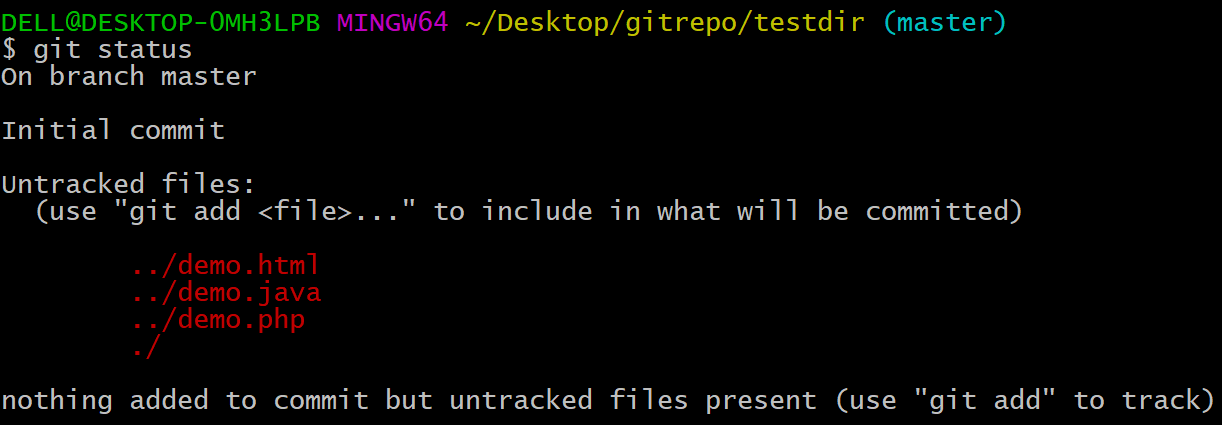
Now when you run the status command, you will notice 4 untracked files as expected. The double dots .. represent one folder up and single dot . represents the file inside current testdir
Now execute git add . command

Now when you run the status command, notice that only test.html got added. Why is that so?
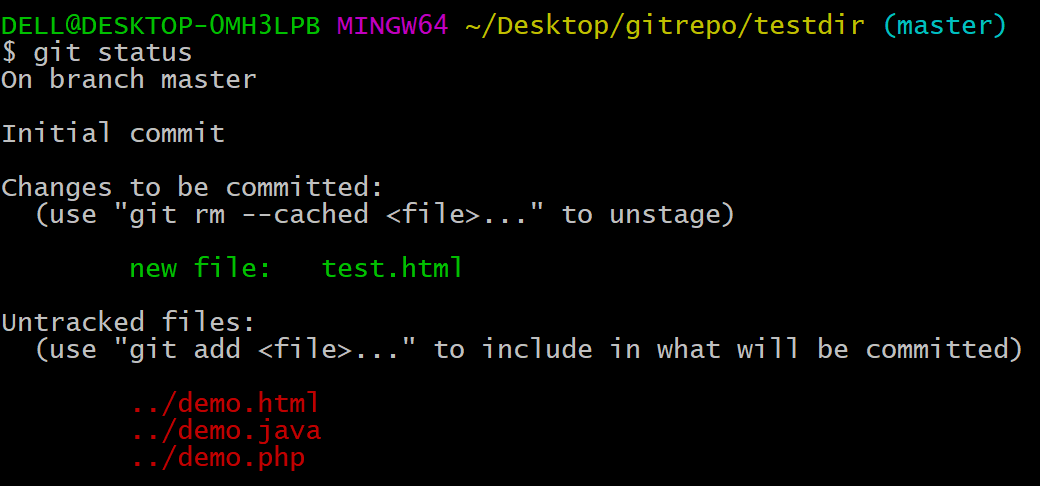
The answer lies in the fact that ‘git add’ adds from the current directory downwards. Since our current directory is ‘testdir’, we have only file when we go downward from this directory.
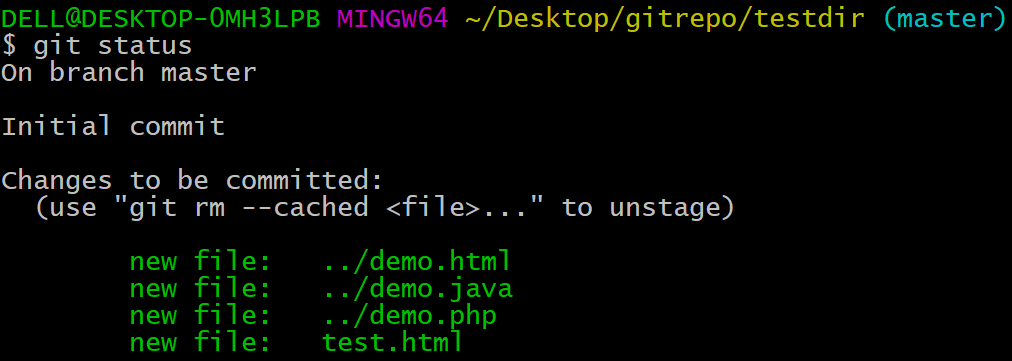
If you want to add every single file to staging area, we use the command git add -A

Now if you see the status, all the files are added to staging
As a best practice, we should use git add .
That way, we would know the files we are about to add to the staging area.
Thank you for reading!
Also Check: Selenium Online Training