Welcome to Selenium 4 series!
What you will Learn:
- Create Maven project in eclipse
- Add Selenium 4 maven dependencies in pom.xml
- Download browser drivers
- Create simple Selenium 4 test
- Code snippet
Create Maven project in eclipse
Open eclipse IDE > File > New > Other > Type ‘Maven Project’ > Select ‘Maven Project’
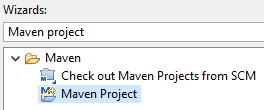
Click Next > Select checkbox ‘Create a simple project’
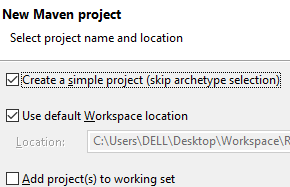
Click Next > Add any desired ‘Group Id’ and ‘Artifact Id’ as shown below
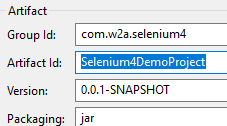
Click Finish to create the Maven project
![]()
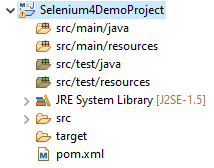
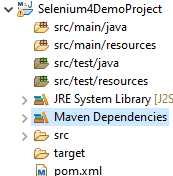
Right click the maven project and click ‘Refresh’. You should then see the folder structure as shown below
Also Check: Selenium Online Training
Add Selenium 4 maven dependencies in pom.xml
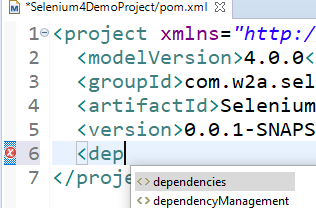
Click pom.xml that you see in above snapshot and add ‘dependencies’ tag (after typing <dep, you can press Ctrl+Spacebar to auto-populate the tag name as shown below)
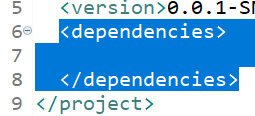
So this is how we have to add the ‘dependencies’ section
Also Check: Selenium Python Training
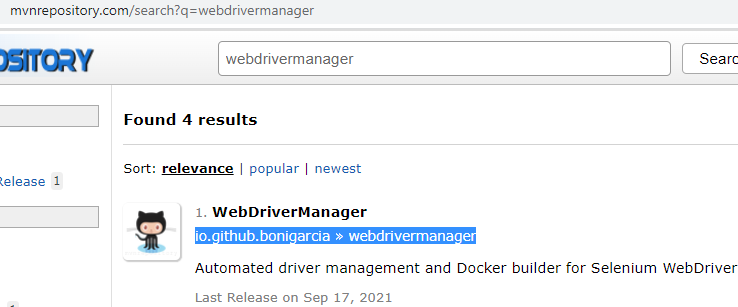
Next, go to https://mvnrepository.com/ and search for ‘selenium java’
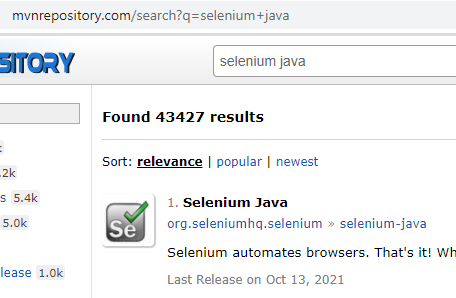
Click ‘Selenium Java’.
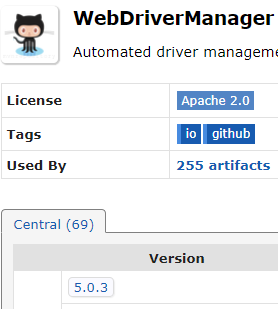
You can see latest version 4.0.0
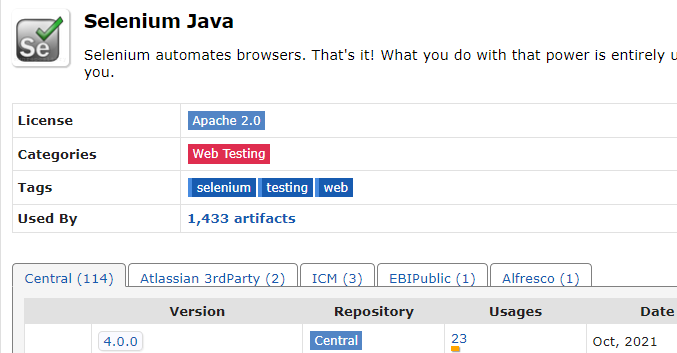
Click latest version 4.0.0 link, gets redirected to below
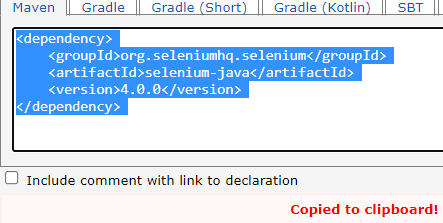
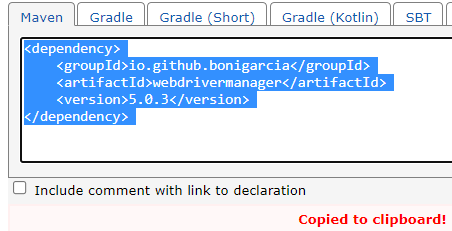
Click this section to copy it
Paste it in dependencies section of pom.xml file
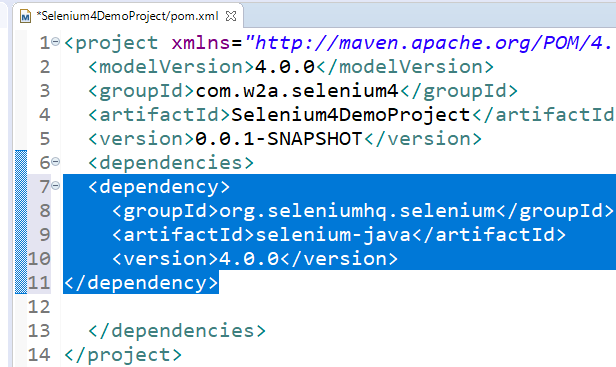
Ctrl+Shift+F to format the file
Save the pom.xml file to automatically download all the dependencies of selenium 4
Once the save process completes, you will see ‘Maven Dependencies’ folder getting created
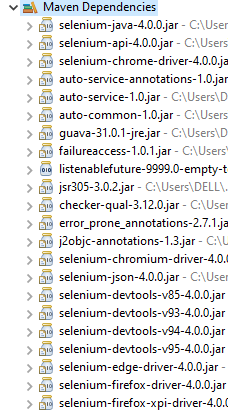
If you expand this folder, you will see all the Selenium 4 related dependencies
If you see below error, just edit the pom.xml file and save it again. For example, you can edit <dependency> to <dependency and change it back to <dependency>
If you save it now, the error should disappear
Add webdriver manager dependency to manage browsers
We will next add webdriver manager dependency to pom.xml file so that we can execute test(s) on different browser types (like chrome, firefox etc.)
Save the file, you will than see the webdrivermanager jar
The advantage of webdrivermanager is that, we don’t have to manually download the executables of different browsers (chrome, firefox etc.)
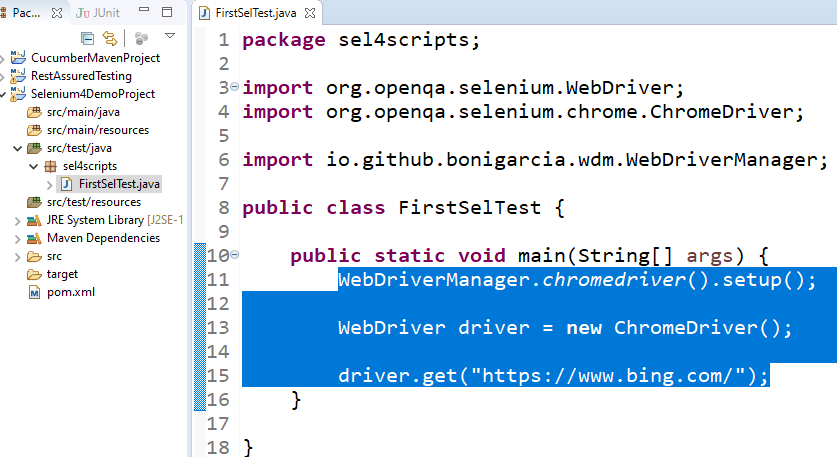
Create simple Selenium 4 test
Create a simple java class and write the selenium code as shown below
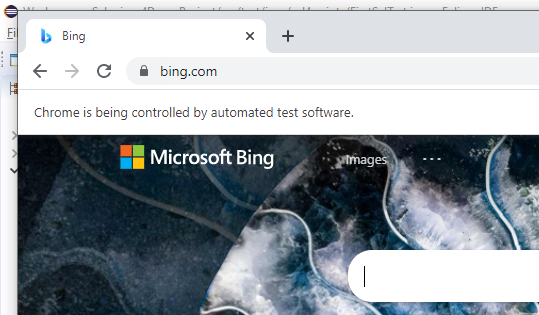
Run as Java application, notice that the browser is launched and gets navigated to desired website
Below is the snapshot of console
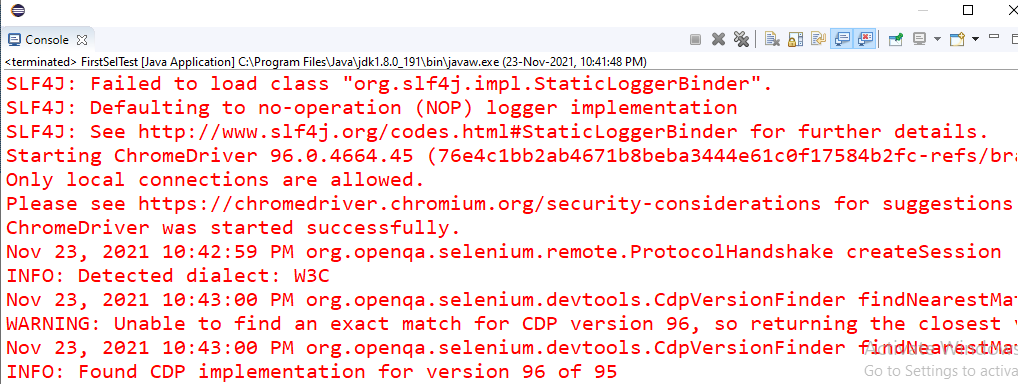
Code snippet
package sel4scripts;
import org.openqa.selenium.WebDriver;
import org.openqa.selenium.chrome.ChromeDriver;
import io.github.bonigarcia.wdm.WebDriverManager;
public class FirstSelTest {
public static void main(String[] args) {
WebDriverManager.chromedriver().setup();
WebDriver driver = new ChromeDriver();
driver.get(“https://www.bing.com/”);
}
}
We are now set to learn the new features in selenium 4.
Thank you for reading!
Also Check: API Testing Training